Gallipoli Tools Hub
Practical decision helpers for classes, loadouts, and WW1 series settings.
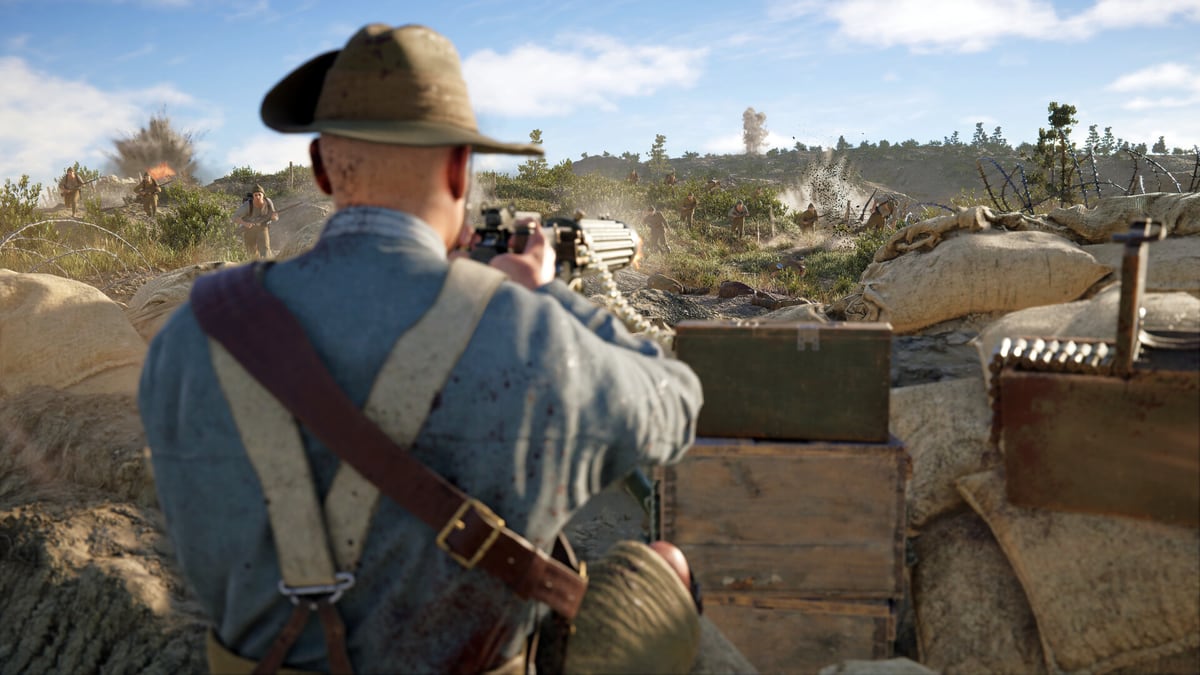
The Tools Hub collects practical decision pages for Gallipoli, BlackMill Games’ WW1 FPS releasing August 20, 2026. These are not gimmick calculators. They are structured guides that help you choose a class, tune settings for hardcore gunplay, and connect those choices to Expedition momentum fights in 25v25 crossplay matches on theatres such as Anzac, Cape Helles, and Kut.
If you want lore-deep role essays, start in the Classes Hub. If you want projected rankings, use the Tier List Hub. This hub is for “what should I do next?” answers when the roster and menus feel overwhelming.
Tools in this hub
- Class Picker — playstyle questions that route you to Officer, sustain, or firepower roles
- Settings Optimizer — graphics, audio, and network habits for WW1 series style shooters
Use the Class Picker before your first mains commitment. Use the Settings Optimizer before you blame a kit for fights you literally could not hear or see.
When to open tools versus guides
- New to the game mode? Read Getting Started and Expedition Mode first.
- Need map context for Anzac, Cape Helles, or Kut? Open the Maps Overview.
- Already know you like leadership, healing routes, or gun nests? Jump to Class Picker, then the matching players page such as Stretcher Bearer or Firepower Roles.
- Frames dropping or footsteps disappearing under artillery? Open Settings Optimizer.
How these tools fit the roster
Gallipoli’s ten classes only make sense as a squad. The Class Picker will often recommend Stretcher Bearer or Ammo Bearer to players who enjoy impact without needing top frag screens — and that is intentional in a Momentum mode. Firepower fans get routed toward HMG, Sniper, LMG, or Bomber via the same decision tree, with follow-up reading on Firepower Roles and Officer Guide.
Settings advice exists because series veterans know visibility, suppression readability, and audio cues decide more fights than another overlay color. A sharp Officer call is useless if sand glare hides the Headquarters doorway.
Suggested workflow
- Finish day-one concepts in Getting Started.
- Run the Class Picker.
- Read the linked class guide under Classes Overview.
- Skim projected value on the Class Tier List without treating it as law.
- Lock a package in Best Loadouts.
- Stabilize performance with the Settings Optimizer.
- Recheck map fit on the Maps Overview before you declare a main forever.
After launch
Expect these tools to gain more concrete presets once players share stable PC and console configurations. The hub structure stays the same: decide, configure, then fight on the Ottoman Fronts with a kit that matches your brain. Until then, treat every recommendation as a practice plan for Expedition, not a substitute for reading the mode guide.
Frequently Asked Questions
Quick answers to the most common questions.
Are these interactive apps?
They are structured decision guides published as wiki pages. Follow the steps and linked class or settings sections to get a concrete recommendation.
Should I use tools or tier lists first?
Use the Class Picker first if you are unsure what you enjoy. Use tier lists after you understand Expedition jobs and map roles.
Do settings matter in a historical shooter?
Yes. Readable silhouettes, stable frame pacing, and footsteps under artillery noise are competitive advantages in one-shot-one-kill fights.
Where do I go after the Class Picker?
Open the recommended class guide, then Best Loadouts and Maps Overview for theatre-specific tweaks.