Gallipoli Suez Canal Map Guide
Moonlit canal banks, Sinai approaches, and the fifth launch theatre on the Ottoman Fronts.
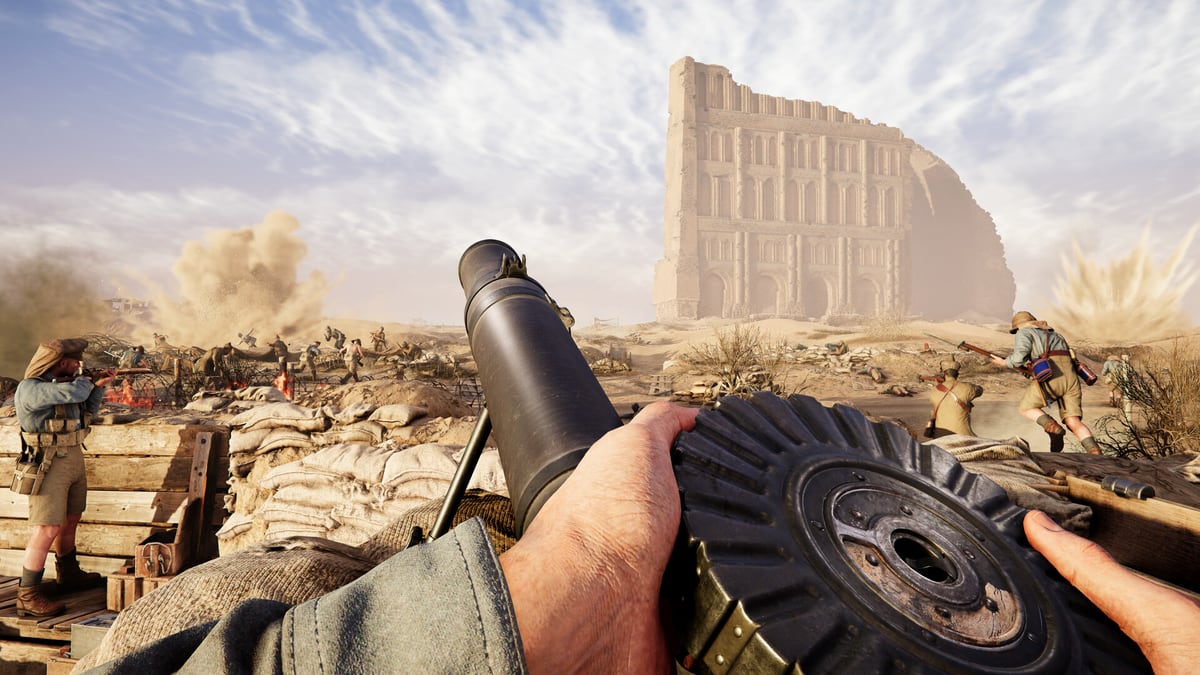
Suez is the fifth launch map BlackMill Games named on day one. The studio’s August 20, 2026 “out now” press lists five theatres: the contested landings of ANZAC Cove and V Beach, the sun-baked desert around Ctesiphon, the battered town of Kut al-Amara, and the moonlit canal of the newly revealed Suez. That last clause is the whole identity. This is not another dawn rowboat scramble and it is not Kut’s bazaar. It is a linear water fight — banks, crossings, and low light — set on the imperial lifeline that historically tied Britain’s Mediterranean fleet to India and Australia.
For the full theatre index, return to the Maps Hub or the maps overview. For how sectors actually score, keep Expedition Mode open. For the day-one storefront note that named Suez, use Gallipoli out now.
Why Suez exists on the roster
Steam’s older about-text leaned on Anzac Cove, Cape Helles, the Arch of Ctesiphon, and Kut. The launch press expanded that list on purpose. A peninsula-only queue would sell the title and starve the “Ottoman Fronts” promise. Suez is the Egypt/Sinai chapter: Ottoman forces trying to cut the canal, British Empire troops holding the ditch that kept the empire moving. Historically that raid peaked in late January and early February 1915 under Djemal Pasha, with German staff help from Kress von Kressenstein, after a Sinai crossing that already punished anyone who treated the desert as a parade ground.
In Gallipoli that history becomes a 25v25 Expedition problem with a different geometry than Anzac Cove or Cape Helles. Water is a wall, not a landing craft. Night is a lighting choice, not a filter you ignore. If your squad only drilled beaches, the first Suez queue will feel like someone stole the ravines.
This wiki will not invent unpublished sector names. BlackMill has not dropped a Ctesiphon-style blog dump for Suez the way it did for the Arch and the Gurkha Mound. What we do have is the official identity — moonlit canal — plus the real campaign geography that the studio is recreating. That is enough to play smarter than “rifle the waterline until tickets die.”
How the canal changes Expedition
Expedition still asks attackers to take Headquarters sector by sector while Momentum drains on deaths. Support Objectives still restore the pool, forward-spawn, and field guns. The canal changes where those rules hurt.
- Crossings are chokepoints. A bank-to-bank push funnels like the Arch of Ctesiphon, except the funnel is wet. Bombers and Engineers matter at the actual crossing, not on a pretty dune fifty metres inland.
- Banks are HMG country. A Heavy Machine Gunner who sees along the waterline deletes impatient silhouettes. Pair that nest with an Ammo Bearer or it goes quiet after one belt.
- Low light punishes greedy peeks. Moonlit copy is not flavour text. Expect worse target ID, more “was that a squadmate” mistakes, and extra value for a Spotter who marks before the wave stands up.
- Revives need a dry pocket. A Stretcher Bearer who drags along the open bank is a second death. Plan the fold in the earth behind the lip, the same lesson as V Beach sand, just colder and darker.
- Do not treat it like Kut. Short bazaar fights reward extra Bombers. Canal banks reward people who can see and people who can cross. Mix firepower roles with an Officer who actually calls the plant window.
If Momentum is thin, take the Support Objective even when the canal HQ looks closer. Open deaths on water drain the pool faster than a street fight in Kut Al Amara.
Historical framing the game is selling
The Suez Canal in 1915 was not a side show. It was the shortcut that let ANZAC convoys and Indian Expeditionary Force shipping skip the Cape. Ottoman planners wanted to threaten that shortcut, force Britain to park extra divisions in Egypt, and maybe spark unrest in a country already under occupation. The British held. The raid failed to cut the canal. Men still died on both banks for a ditch that look small on a world map.
That is the mood BlackMill is buying with “moonlit canal.” Searchlights, water glare, and a linear obstacle match the historical night watches better than another sun-bleached Ctesiphon screenshot. Use it as fantasy, not as a license to invent POI names this wiki cannot source.
Pair the history with the Mesopotamian pair: Ctesiphon is the failed Baghdad push; Kut is the siege that followed. Suez is the earlier Egyptian problem sitting on the same Ottoman Fronts campaign, not a random night map glued on for variety.
Class jobs that fit the banks
- Spotter — mark the nest on the far bank before twenty-four rifles stand in the same belt. Details on the Spotter guide.
- Sniper / Heavy Machine Gunner — own the long waterline. Relocate after you get a kill; canal silhouettes are greedy. See Firepower Roles.
- Engineer — wire and bags on the crossing you actually need, not the photogenic one. Engineer guide covers Saboteur versus Frontline Builder from the official class blog.
- Bomber — the kit that makes a crossing exist. Do not throw the whole satchel into empty water.
- Stretcher Bearer / Ammo Bearer — dry drag routes and thirsty belts. Stretcher Bearer and Ammo Bearer.
- Officer — call the crossing window. A 25-person swim without smoke or suppression is how tickets vanish. Officer Guide.
Riflemen still take the Headquarters once the far bank is suppressed. They are not the whole plan.
Attacker habits
- Find the crossing that is not the one everyone pinged in spawn.
- Smoke or suppress the long bank before the first wave stands up.
- Assign a planter who is not your only medic.
- Use crouch and prone sprint from Getting Started so you do not skyline on the berm.
- After a sector breaks, relocate off the waterline; looting the old bank is how defenders reset.
Defender habits
- Pre-aim the water, not random Sinai scrub.
- Keep an HMG with an Ammo Bearer, not a lonely hero nest.
- Contest the Support Objective even when HQ feels safe; the field gun will punish a lazy hold.
- Revive behind the berm, not on the towpath.
- Watch for a second crossing. Canal maps punish teams that stare at one ladder.
How Suez connects to the rest of the wiki
Study Anzac Cove and Cape Helles for landing language, then come here to unlearn it. Water as obstacle is closer to Ctesiphon’s river-split Headquarters than to a beach exit, which is why the Ctesiphon page is the best sister read. After you can hold a bank, Kut Al Amara still teaches interiors. Weapons that feel perfect along a canal may be clumsy in Kut streets — check weapons & gunplay and the weapon tier list. If you are still shopping editions, price & editions and the out now page cover live storefront pricing.
Suez is the map that teaches patience after dark. Learn the bank, respect the crossing, and do not treat moonlight as a screenshot backdrop.
Frequently Asked Questions
Quick answers to the most common questions.
Is Suez in Gallipoli at launch?
Yes. BlackMill’s August 20, 2026 launch press lists five maps, including the newly revealed moonlit Suez canal alongside ANZAC Cove, V Beach, Ctesiphon, and Kut al-Amara.
Is Suez the same kind of fight as Anzac Cove?
No. Anzac is a dawn landing. Suez is a canal-bank fight: water as a linear obstacle, crossings as chokepoints, and low-light sightlines.
Which classes matter most on Suez?
Spotters, Snipers, Heavy Machine Gunners, Engineers, and Ammo Bearers. You need people who can see the far bank and people who can actually cross it.
Where should I go after this page?
Read the maps overview, then Ctesiphon for another water-split Headquarters, and Expedition Mode for Momentum rules when open deaths drain the pool.